

Host your site for free with your local machine
Zero setup time. Get started instantly with a single command and host your site to public users.


Introduction
This article guide will get you up and running with the ngrok agent, giving you a secure way to access your local service from anywhere in the world. In non-technical context we are going to use ngrok to make our local machine make a website live. Let's get started.
Getting Started with ngrok
Let's get started with setting up ngrok in your local machine. We'll do this in four steps:
Starting a local service
Installing the ngrok agent
Connecting your agent to your ngrok account
Start ngrok
Starting a local web service
You may use any of the local web service examples using xampp or wamp server for running a local web service or else you can one for your own. It should be available at [http://localhost:[any](localhost:[any) port] . In this article, I am going to use laravel inbuild development server for simplicity.
Starting a laravel development server using a command php artisan serve . which spins up a development server at http://localhost:8000 .
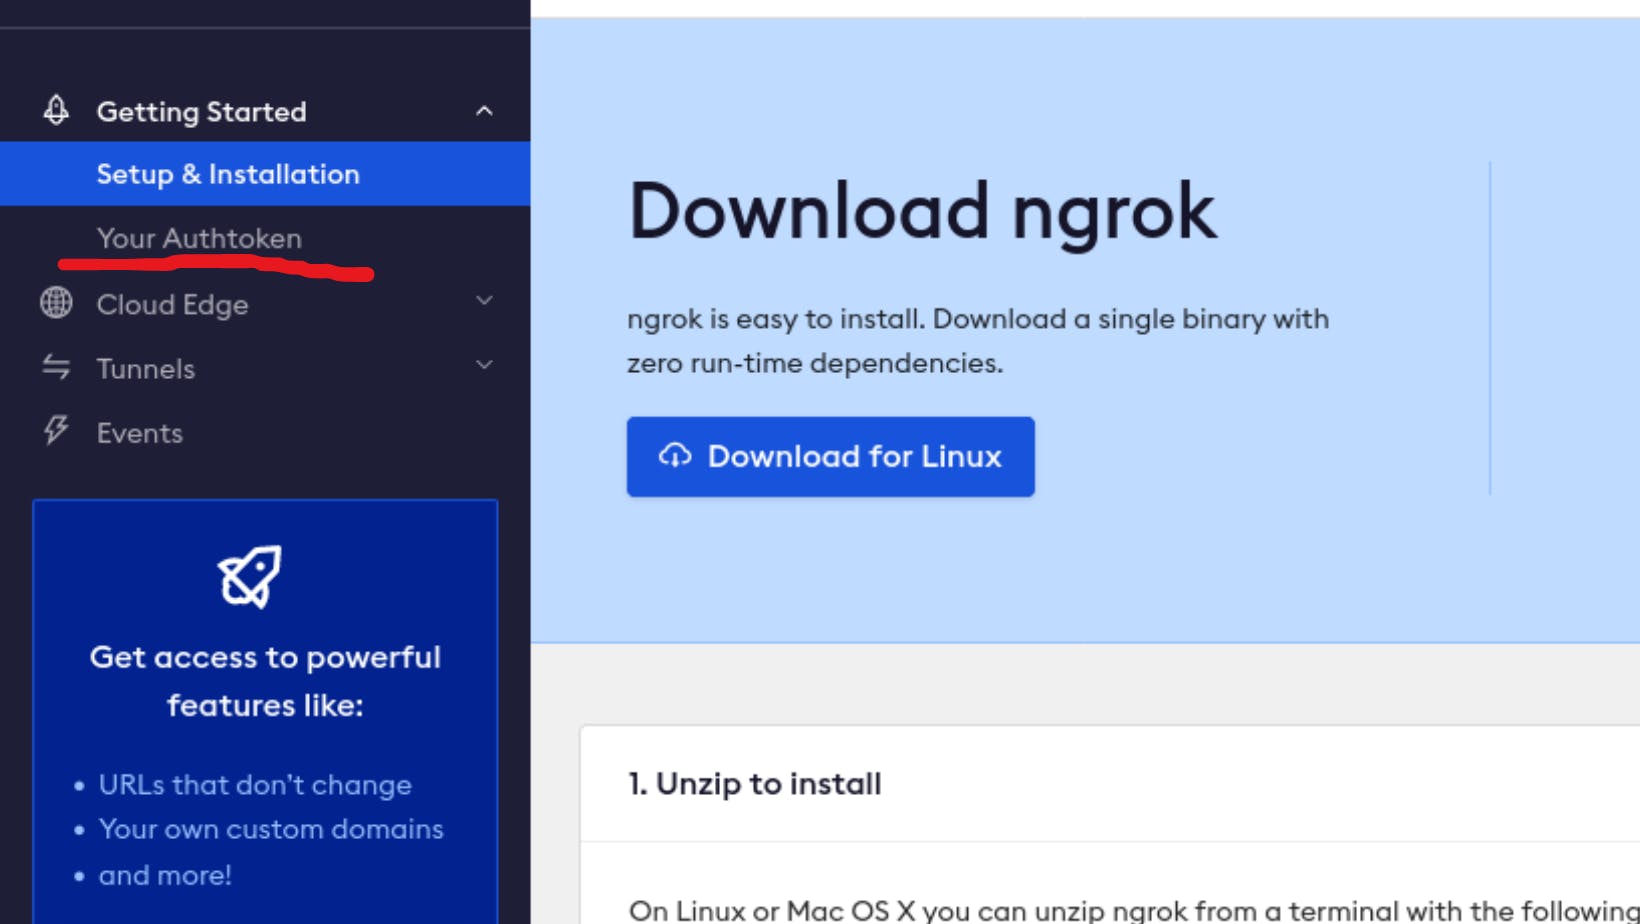
Install the ngrok Agent
The ngrok agent is the command line application that you will use to start your tunnels.
For Linux, use Apt:
curl -s https://ngrok-agent.s3.amazonaws.com/ngrok.asc | \
  sudo tee /etc/apt/trusted.gpg.d/ngrok.asc >/dev/null && \
  echo "deb https://ngrok-agent.s3.amazonaws.com buster main" | \
  sudo tee /etc/apt/sources.list.d/ngrok.list && \
  sudo apt update && sudo apt install ngrok
Connect your agent to your ngrok account
After the ngrok agent is installed, let's connect it to your ngrok Account. If you haven't already, sign up (or login) to the ngrok Dashboard and get your Authtoken.
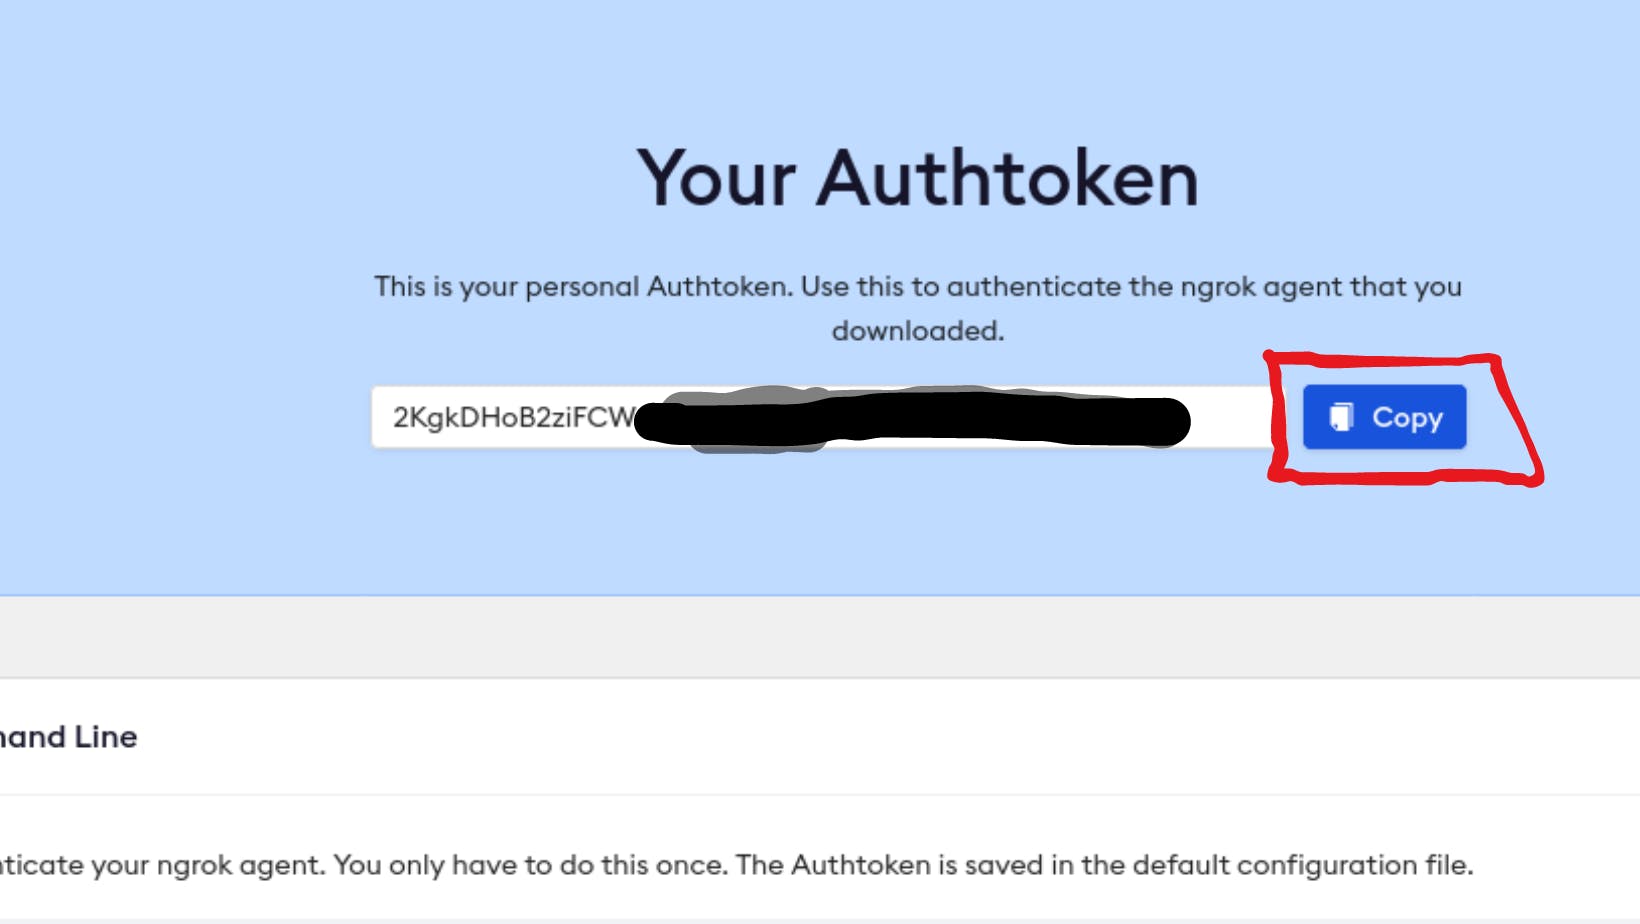
Copy the value and run this command to add the authtoken in your terminal.
ngrok config add-authtoken TOKEN
Start ngrok
To Start ngrok run the following command.
ngrok http 8000
The 8000 is port number you can specify your own port number.The You should see something similar to the following console UI in your terminal.
    ngrok                                                                                                                                                       (Ctrl+C to quit)

    Session Status                online
    Account                       inconshreveable (Plan: Free)
    Version                       3.0.0
    Region                        United States (us)
    Latency                       78.006541ms
    Web Interface                 http://127.0.0.1:4040
    Forwarding                    https://84c5df439d74.ngrok.io -> http://localhost:8000

    Connections                   ttl     opn     rt1     rt5     p50     p90
                                  0       0       0.00    0.00    0.00    0.00
Now you can look at the Forwarding URL.This URL is now public you can share to public users the incoming request would be forwarded to you localhost:8000.
That URL is available to anyone in the world. You are now using TLS (notice the 🔒 in your browser window) with a valid certificate without making any changes to your local service.
Since the whole world can access this URL, we need to secure it quickly. Let's stop the ngrok agent with ctrl+c.
Conclusion
There are lot more use cases like testing a web hook & sharing your site to client immediately to test changes without pushing to live server.i hope you have liked this artcial to support share it & give like to make reach out of you fellow developers .